Opensource
Tutorial: Creating real-time gradient heatmap visuals using Kinect and Processing
This tutorial guides you through creating real-time heatmap-like visuals using a Kinect sensor and Processing. The visuals are based on depth gradients, producing a dynamic topographic-like effect that responds to motion and presence in the scene.
How It Works
The Kinect (Xbox 360 version) is equipped with two cameras:
- A RGB camera (like a normal webcam)
- A depth sensor that measures how far each pixel is from the camera
The depth sensor works in real-life conditions — even in complete darkness, rain, or fog — because it uses infrared light instead of visible light. In this project, we only use the depth sensor.
The sketch processes the depth map by computing the gradient of depth values. The gradient represents how much the depth changes between one pixel and its neighbors. This is similar to how a topographic map works: each visible line or color change represents a change in height (or here, depth).
- Close to the camera: the sensor is more precise, so changes in depth are smaller and more detailed. These areas are rendered in red, with fine, dense contour-like lines.
- Further away: the sensor becomes less accurate and depth changes are larger. These areas are rendered in yellow or white, creating smoother transitions with less detail.
The result is a live, evolving visualization of space and motion based on how depth changes across the scene — a sort of digital relief map that reacts to people moving in front of the sensor.
What You Need
Hardware
- Kinect for Xbox 360 model 1414
- With a PC USB adapter (usually included in PC kits or available separately)
- Windows PC
- Even older PCs can run this; performance depends more on GPU if using full-screen projections
- Optional: Second screen or projector
- For performances or installations, you can output the visuals to a secondary display
Software
- Processing (latest version — available from https://processing.org)
- Kinect for Windows SDK 1.8
- Processing libraries:
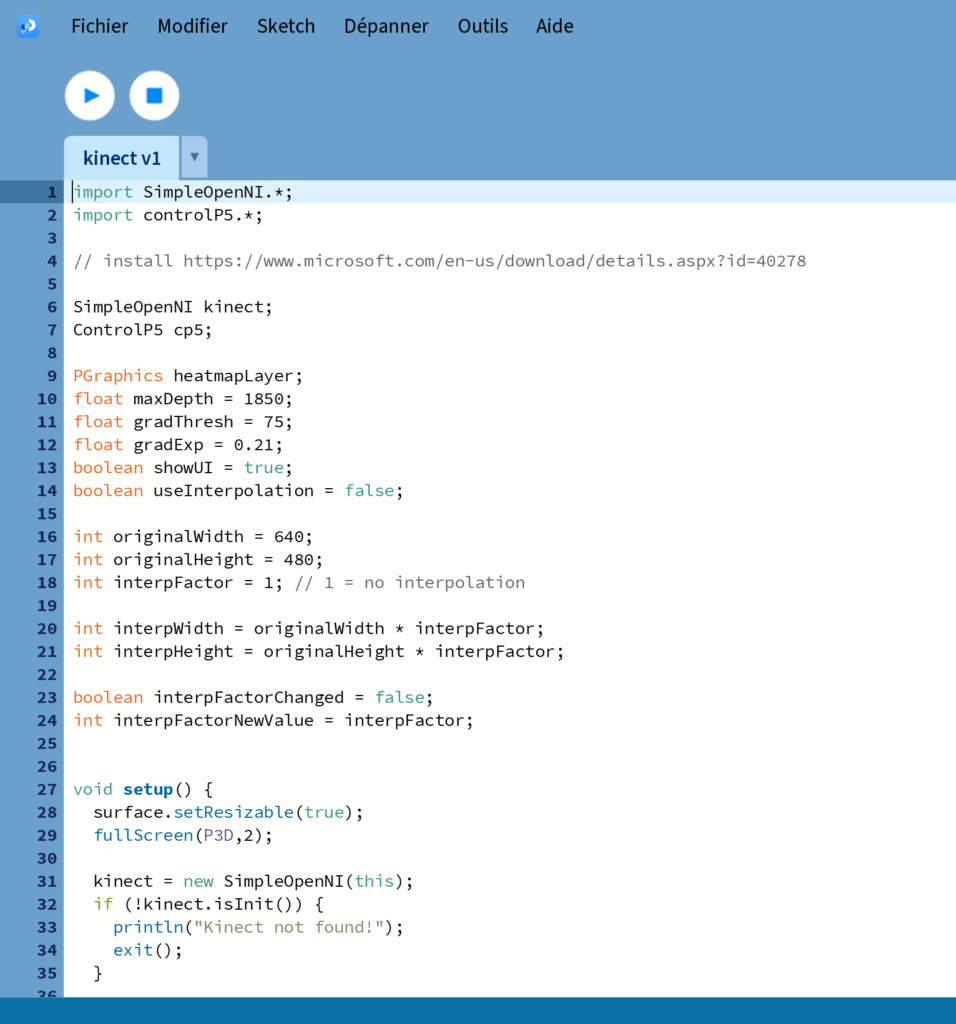
SimpleOpenNI(for accessing Kinect)ControlP5(for UI sliders and toggles)
Installation and Setup
- Install Processing
- Download and install from https://processing.org/download
- Install Kinect SDK 1.8
- Download from: https://www.microsoft.com/en-us/download/details.aspx?id=40278
- Restart your computer after installation
- Plug in the Kinect and wait for Windows to recognize the device
- Install the Required Libraries in Processing
- Go to the Processing IDE
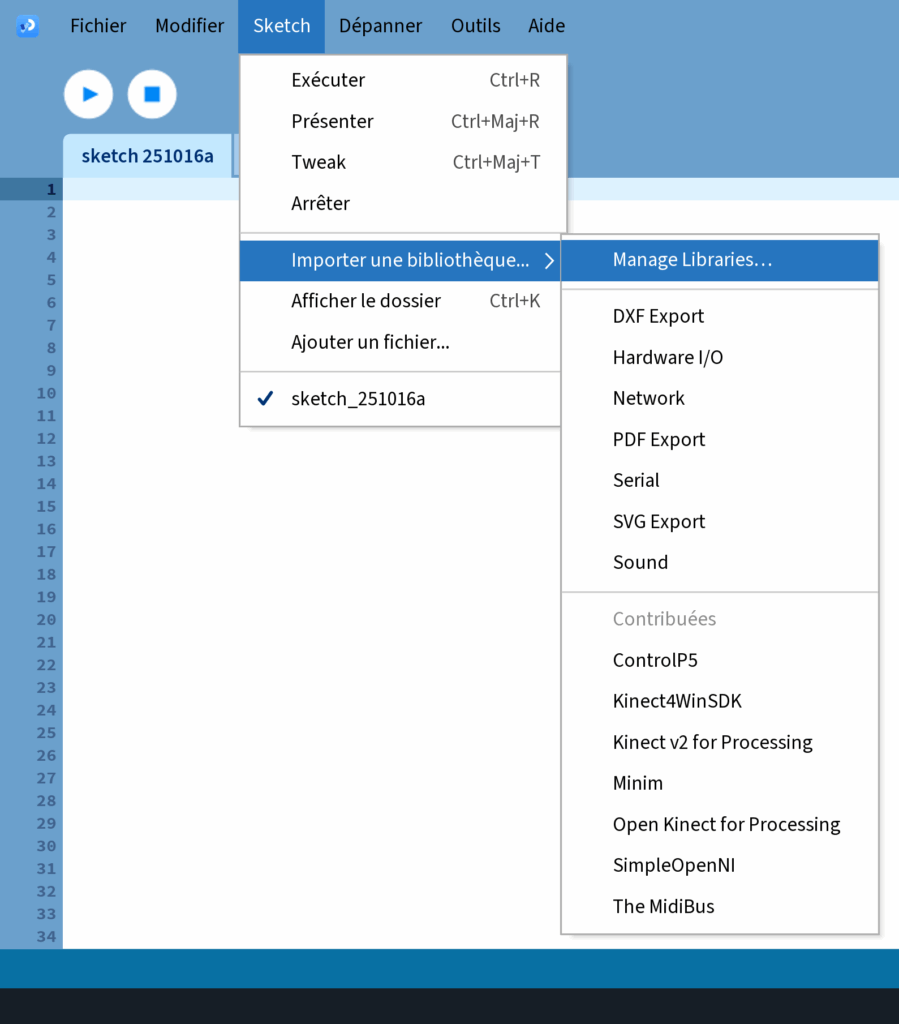
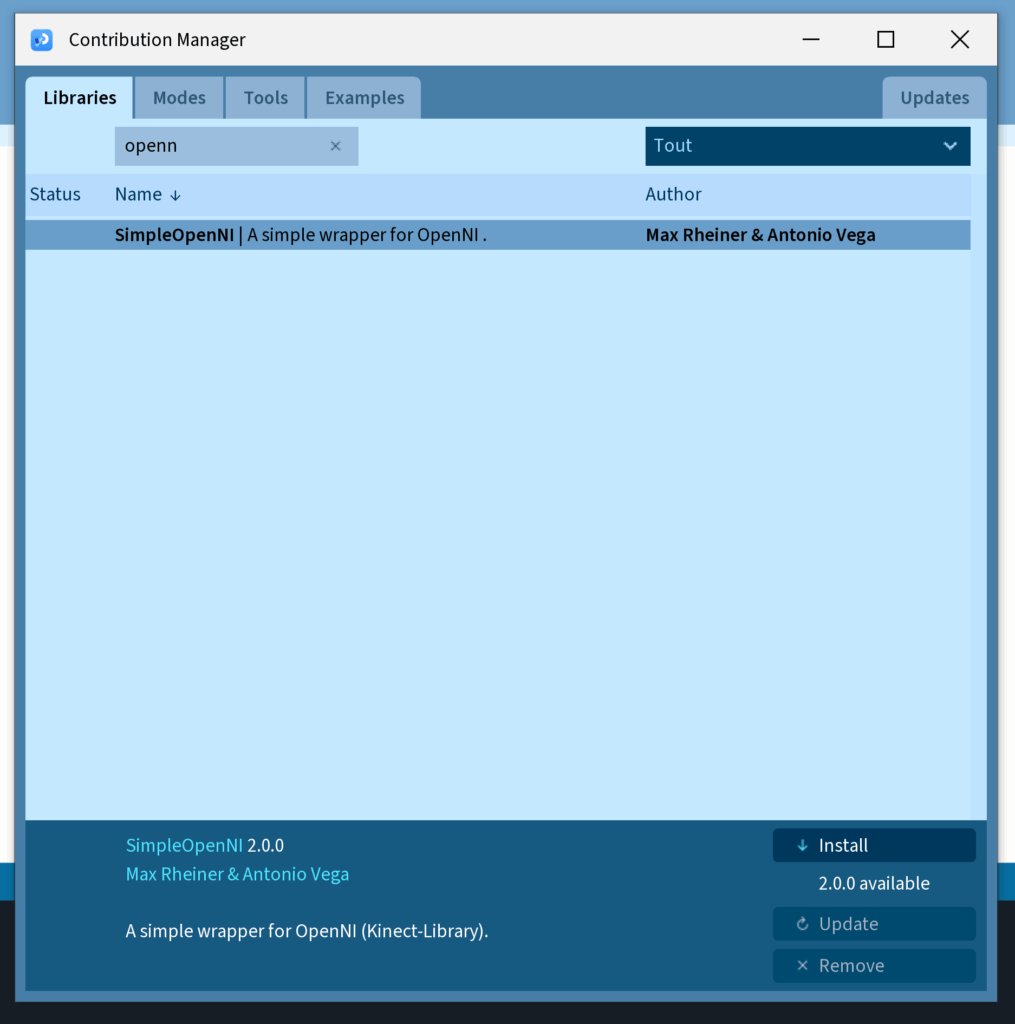
- Open
Sketch → Import Library → Add Library... - Search for and install:
SimpleOpenNIControlP5
- Connect Your Kinect
- Make sure the Kinect is plugged into both power and USB
- The green light on the Kinect should flash or stay on when connected
- Run the Code
- Download the ritmo-kinect360 code from my github
- Open the provided sketch (.pde) with Processing on your PC
- Press the “Run” button (▶) to start
- The system will open in full screen on your second screen (if one is connected), otherwise it opens in a resizable window
Dual Screen Setup (for projection)
If you are using a second screen or projector:
- Go to Windows display settings
- Right-click on your desktop → Display settings
- Under “Multiple displays,” choose “Extend” (French: Élargir ces affichages)
- Ensure the projector or second screen is positioned as the second display
- In your code, this line ensures full screen opens on your second screen:
fullScreen(P3D, 2); // Use second screen for fullscreen displayIf you’re running it on your main laptop screen, you can replace it with:
size(1280, 720, P3D); // or any resolution you preferUsing the Interface
When the sketch is running, you’ll see sliders and toggles in the top-left corner. These allow you to adjust the visual effect in real time.
- Press
uto show/hide the interface This is useful when projecting and you want a clean visual without controls
The main controls are:
maxDepth– The maximum depth the sensor will consider (in mm)gradThresh– A threshold for how strong a gradient must be to appeargradExp– Controls the contrast of the gradient visualizationuseInterpolation– Toggle to upscale the resolution of the depth mapinterpFactor– Sets how much to upscale the image (only visible when interpolation is enabled)
Customization
You can modify the colormap by editing the getColormapHot() function.
A second version of the function (commented out in the code) shows how to create a custom gradient using pink, turquoise, and yellow tones instead of red-yellow-white. Feel free to experiment with color stops to match your artistic vision.
Suggested Use Cases
- Interactive dance or performance visualizations
- Motion-reactive installations
- Experimental VJ visuals or ambient projections
- Research or education on depth sensing and real-time mapping
Troubleshooting and Known Issues
1. Scaling Issues on Windows (Double Screen)
If the sketch doesn’t display properly on the second screen, or the UI appears offset:
- Right-click on the desktop → Display Settings
- Find the “Scale and Layout” option
- Set the display scale to 100% (instead of 150% or 250%) on both screens
- Restart Processing and run the sketch again
2. Kinect Not Detected
If you get the message: “Kinect not found!”
- Make sure the Kinect is plugged in with both the power cable and the USB
- Restart Processing and try again
- Ensure the Kinect SDK 1.8 is correctly installed (it’s only compatible with Windows)